Watch us create Candied Ginger with Lavender step by step. We’re starting tonight on Jan 12, 2012. We’ve cut up about three big chunks of fresh ginger, made a sugar syrup of 1 1/2 cups of sugar and 3 cups of water, and added 1/2 lemon sliced up and about 2 tablespoons of our culinary lavender.
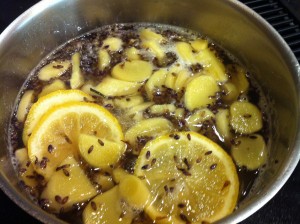
We are now boiling it gently and will continue to do that for a long time… I wish I could pass the smell through the internet, it’s absolutely divine as the pot is simmering the ginger, lemon, and lavender are swirling, and dancing through the room.
It’s been simmering for about an hour and a half now. You can see in the second photo that the color is changing and the ginger is looking softer.
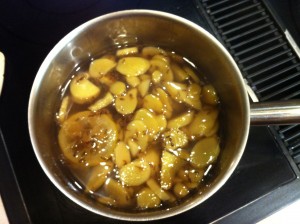
It takes 4 to 6 hours to fully cook ginger, the first few hours are pretty easy, you can just cover and let it simmer away (checking once in a while).
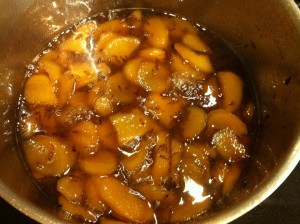
Towards the end of the cooing, though, you’ll need to check more often because the syrup gets thicker and the potential to burn increases. See how the color of the ginger gets a bit more golden brown as the cooking time increases. These pieces of ginger are almost done – the look almost translucent in the pot.
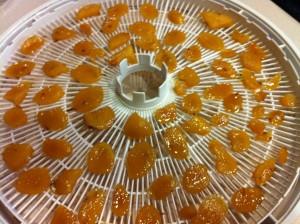
At this stage I took it out of the syrup and placed each piece on a drying rack that is part of the home dehydrator. Because I was cooking with lavender I took some time to scrape off the bits of lavender. It’s a bit of a bother, but it’s worth it to avoid biting into a chunk of lavender that distracts from the excellent blend that lavender will give to the candied ginger when finished.
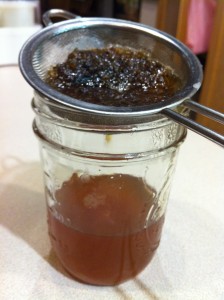
Now, you might just throw away the syrup that’s left in the pan after taking out all these beautiful pieces. Don’t do it! Strain out the syrup and save it for drizzling on… well, lots of things. How about on ice cream? Stir it into yogurt. Make a sweet/sour chicken dish. Use it as a sweetener for a great sugar cookie.
Now you are going to let the dehydrator do it’s work for at least 8 to 10 hours. You don’t want to let it go too far, because you’ll want the pieces to still be sticky so the granulated sugar that you’re going to put on will stay on the pieces.
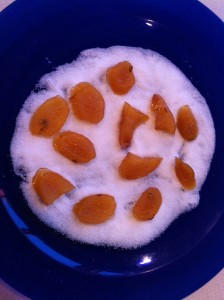
I carefully placed each piece on a plate of sugar and then turned it to cover both sides. Then I threw the pieces into a container that had sugar in it, put the cover on, and shook it vigorously.
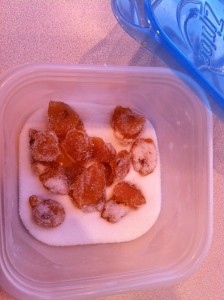
If I had put it in the container without covering both sides with sugar first, they would have wadded together and been harder to shake to cover. As it is, they stuck to each other a litte.
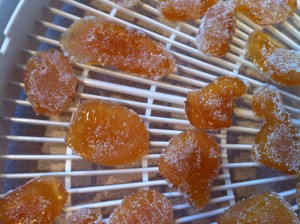
Then I pulled them apart and placed them back on the dehydrator tray for another session of drying.
We sampled them after about 5 hours of drying to see how they tasted and what the texture was like. They were still too squishy and needed more time in the dehyrator. But, we still had to taste them and, wow, they were fabulous. The pieces had more “heat” than the store bought variety, and the lavender added a subtle shift in flavor that was truly delicious. There were four tasters and we didn’t all agree on how much of the lavender we could taste, and that’s a good sign that it’s about right. You don’t want too much lavender because the main flavor needs to be the ginger. Lavender is a helper flavor and shouldn’t shout out its presence.
The ginger was dried for another day and was about perfect. I dipped about half of the pieces in couverture dipping chocolate and they were stunning. I’m sorry, we ate them before we could take the final pictures.
