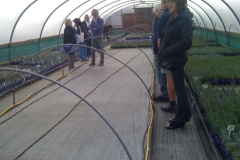
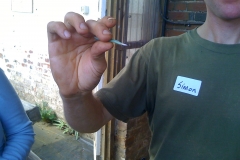
In 2009 I went to a Lavender conference in Cambridge, UK and got a chance to visit the amazing Downderry Nursery owned by Simon Charlesworth. He has created the best greenhouse system I’ve seen for propagating and growing lavender. On a scant 2 acres of land they produce about 400 cultivars of lavender for sale. It was inspiring!
The greenhouses were engineered to be perfectly level so they could easily water the starts from below which helps with disease problems from watering above.
They had a special greenhouse just for rooting the cuttings that was held at an even 70º F and the cuttings rooted quite quickly under their care.
Coming home to our greenhouse with its lack of power and electricity, and the lack of means to build what we had seen, we thought about other ways to propagate our lavender. Back in 2002 I had visited a lavender grower in Nyons, France, who taught me that lavender can be propagated right in the ground. While there are problems doing that if you are going to be selling lavender plants commercially because the dirt in your ground isn’t sterile, it’s a great way to propagate for your own uses.
Preparing the beds
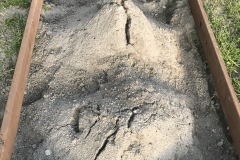
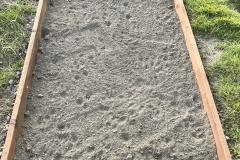
Making the beds for outdoor propagating can be somewhat formal as these framed ones are, or you can build rows in your fields. Whatever you do, you will have to be prepared to weed them during the rooting time.
The beds need to have level soil so there won’t be puddling when you water them.
Taking the cuttings
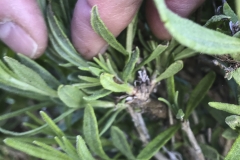
Sometimes you have to hunt around in the plant to find the right branches for cuttings. You’ll want to have a good attachment to the main stem, as well as a good leaf structure to sustain the cutting until it roots.
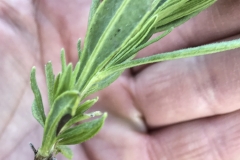
When you take off the branch you will see a “heel” from where you gently tore it off the main stem. This is good. Roots grow more easily from that heel.
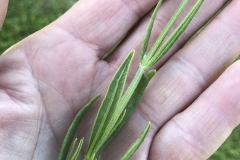
You can see the leaves that are on the bottom part of the cutting, remove them up about 3/4 of an inch because you don’t want the leaves to be in the soil.
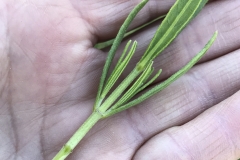
After removing the bottom leaves, you’ll pinch off the top part so the bud that will try to flower won’t be there. You want that cutting to put its energy into building roots not making flowers.
After you have prepared the cutting put it into the Willow Water* you have prepared.
Sticking them and watering
When you have gotten all the cuttings you want you take the bucket of them and stick the into the soil you have prepared. We make holes in the soil with an old chopstick and then stick the cuttings in and pat the dirt around them. You can stick them fairly close to one another – it won’t hurt them at all. We do them about 1/2″ or so apart in a row and the rows are about 1 1/2″ apart.
Digging them up and transplanting
About 2 to 3 months later… dig up your plants. The roots will be intertwined, but if you take small clumps at a time, they will stay moist enough to keep the roots viable while you gently pull them apart and pot them up.
Growing lavender is an exercise in patience. It takes 3 years or more for a lavender plant to reach full size, and that is after you’ve got a cutting that has roots. You’ll be taking cuttings in the late spring or early summer (because the soil temperatures are high enough so it will work) and harvesting the rooted plants in the late summer. Then you’ll have to grow them out in pots. If you don’t have a heated greenhouse you’re looking at the next spring before those plants are ready. You have to love this to do it!
by Sarah Richards
_________
*Willow Water! You can use rooting hormone if you want. But, if you are certified organic or trying to be, then you can’t use those hormones, so what to do? Use willow water – We take twigs from our willow trees and put them in water, they stay in that water for the whole cutting season because those twigs will make roots. During that time we will use the water they sit in and replace it with fresh water. You pour off the water in the willow’s bucket, and then put fresh water back in. Take the poured off water and use that for when you are taking cuttings that day. Discard after using it.

